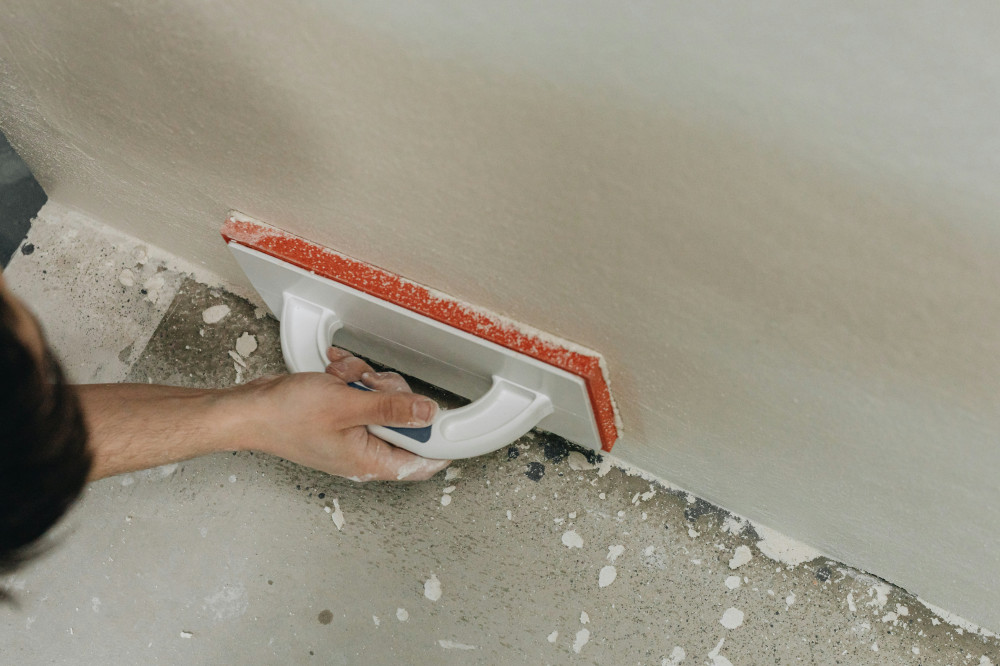
Adapt the Plastering Technique to the Type of Masonry


Adapt the Plastering Technique to the Type of Masonry
A durable and attractive plaster finish depends not only on craftsmanship but also on the type of masonry beneath. Different bricks, blocks, and mortars require different techniques and materials to ensure proper adhesion and to prevent cracking or flaking. Here’s a guide to help you adapt your plastering technique to the masonry you’re working with – whether it’s an old Victorian wall in soft handmade bricks or a modern extension built with dense concrete blocks.
Know Your Masonry
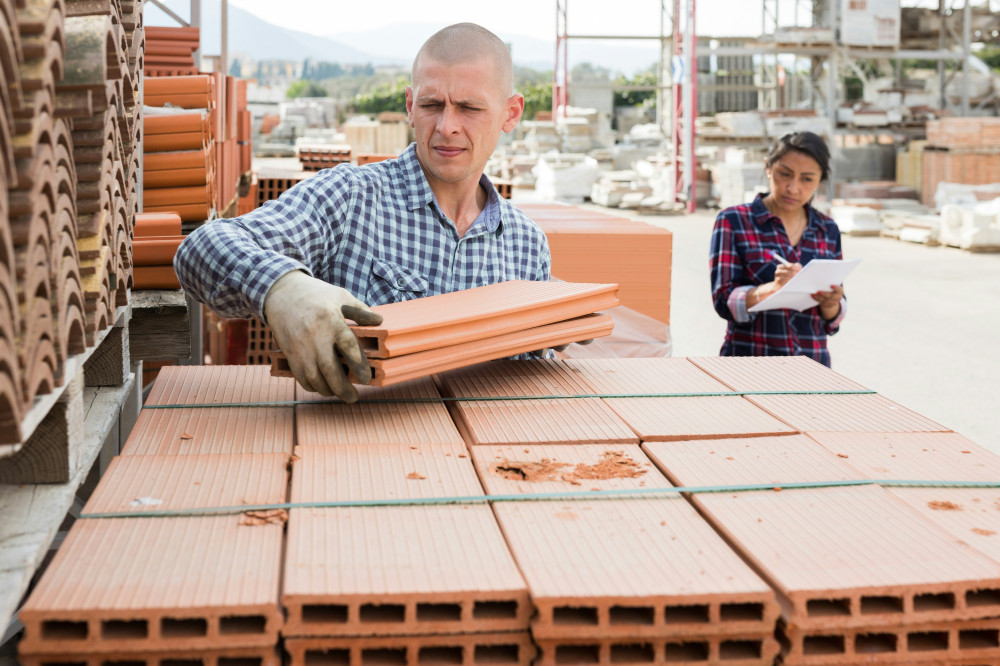
Before you start plastering, it’s essential to understand the nature of the wall. Bricks and blocks vary in hardness, porosity, and surface texture, all of which affect how plaster bonds to them.
- Handmade or soft clay bricks have a rough surface and high suction. They absorb water quickly, so the plaster must be able to cope without drying out too fast.
- Engineering bricks and dense concrete blocks are smooth and low in suction. These often need a bonding coat or keying agent to help the plaster adhere properly.
- Lightweight blocks (such as aerated or thermalite blocks) are porous and require a flexible, breathable plaster to prevent cracking.
A simple test is to spray a little water on the wall: if it soaks in quickly, the surface is absorbent; if it beads up, the surface is dense and will need special preparation.
Choose the Right Type of Plaster
Once you know the masonry type, you can select the most suitable plaster. The general rule is that the plaster should always be slightly weaker and more flexible than the substrate. A plaster that’s too hard can cause cracking or detachment as the wall moves or breathes.
- Lime plaster is ideal for older buildings with soft bricks and lime mortar joints. It’s breathable and allows moisture to evaporate, reducing the risk of damp and salt damage.
- Lime-cement plaster offers a balance between strength and flexibility, making it suitable for many mid-20th-century and modern walls.
- Cement plaster is very hard and dense, best used on strong, non-porous masonry such as engineering bricks or concrete.
If the wall will be painted, make sure the plaster and paint are compatible – breathable finishes are essential for traditional masonry.
Preparation: Clean and Treat the Wall
Good preparation is key to a lasting result. Remove any loose plaster, paint, or dirt. Use a stiff brush or pressure washer if necessary, but take care not to damage the joints.
On smooth or dense masonry, apply a bonding coat or spatter dash to create a rough surface for the plaster to grip. On highly absorbent walls, lightly dampen the surface before plastering so the water isn’t drawn out of the mix too quickly.
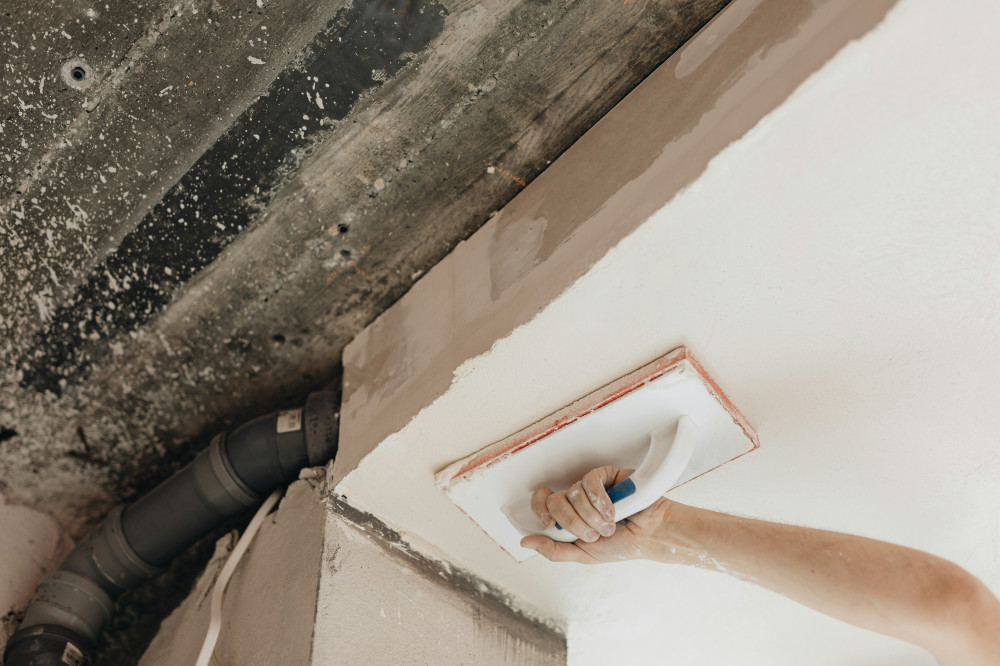
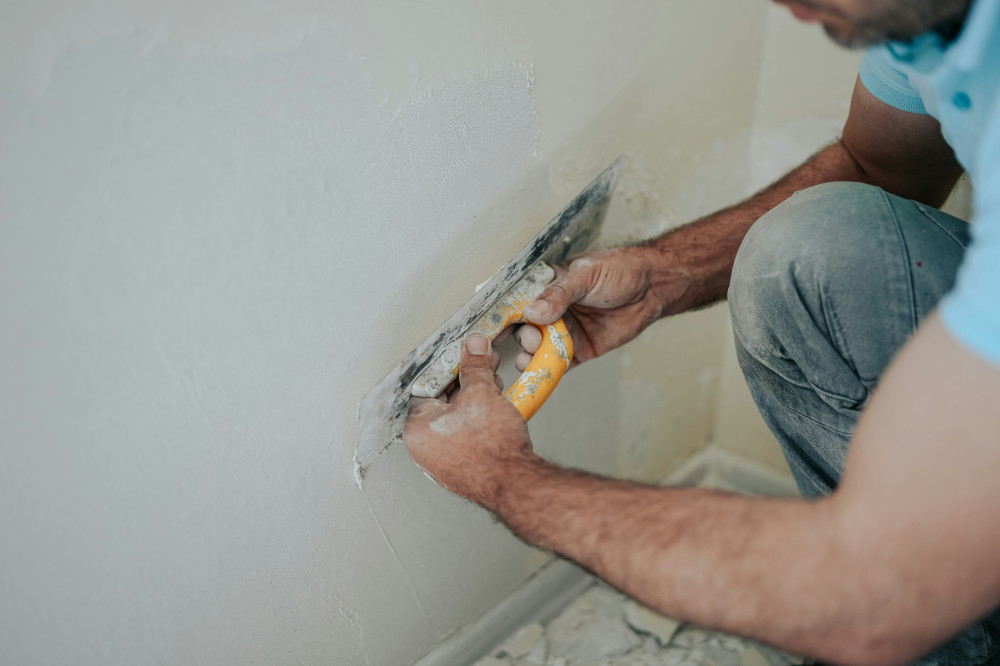
Technique: Apply in Layers
Traditional plastering is done in several layers, each with its own purpose.
- Scratch coat (or spatter dash) – a thin base layer that provides adhesion.
- Base coat – the main layer that levels the surface.
- Finish coat – the final layer that gives the desired texture and appearance.
Allow each layer to firm up before applying the next. Avoid working in direct sunlight, strong wind, or freezing conditions, as these can cause the plaster to dry unevenly or crack.
Avoid Common Mistakes
Even small errors in preparation or application can lead to major problems later. Watch out for these common pitfalls:
- Using a hard plaster on soft masonry – leads to cracking and detachment.
- Failing to dampen absorbent bricks – causes the plaster to dry too quickly and lose adhesion.
- Applying layers too thickly – increases the risk of shrinkage cracks.
- Ignoring movement joints – can result in splits where the wall expands or contracts.
Take time to assess the wall and adjust your approach – it will pay off in the long run.
Maintenance and Repair
Even the best plaster needs occasional maintenance. Inspect the surface regularly for cracks or flaking, especially after winter. Small defects can be repaired using the same type of plaster originally applied. Avoid patching lime plaster with cement-based materials, as this can trap moisture and cause further damage.
If you plan to paint the plaster, choose a breathable paint such as limewash or mineral paint. This allows moisture to escape and helps preserve both the plaster and the masonry beneath.
Læs også:

A Long-Lasting Finish
Adapting your plastering technique to the type of masonry is about understanding how materials interact with moisture, temperature, and time. By choosing the right plaster and working with respect for the wall’s characteristics, you’ll achieve a finish that not only looks good but also protects your building for many years to come.
Læs også: