Your essential step-by-step guide to heat pump service inspection
Your essential step-by-step guide to heat pump service inspection
Heat pumps are a crucial component in maintaining comfort in your home throughout the year. Regular service inspections ensure that your heat pump operates efficiently and effectively. This guide provides a step-by-step process for conducting a comprehensive heat pump service inspection, allowing you to identify potential issues before they escalate.
Understanding the Basics of Your Heat Pump
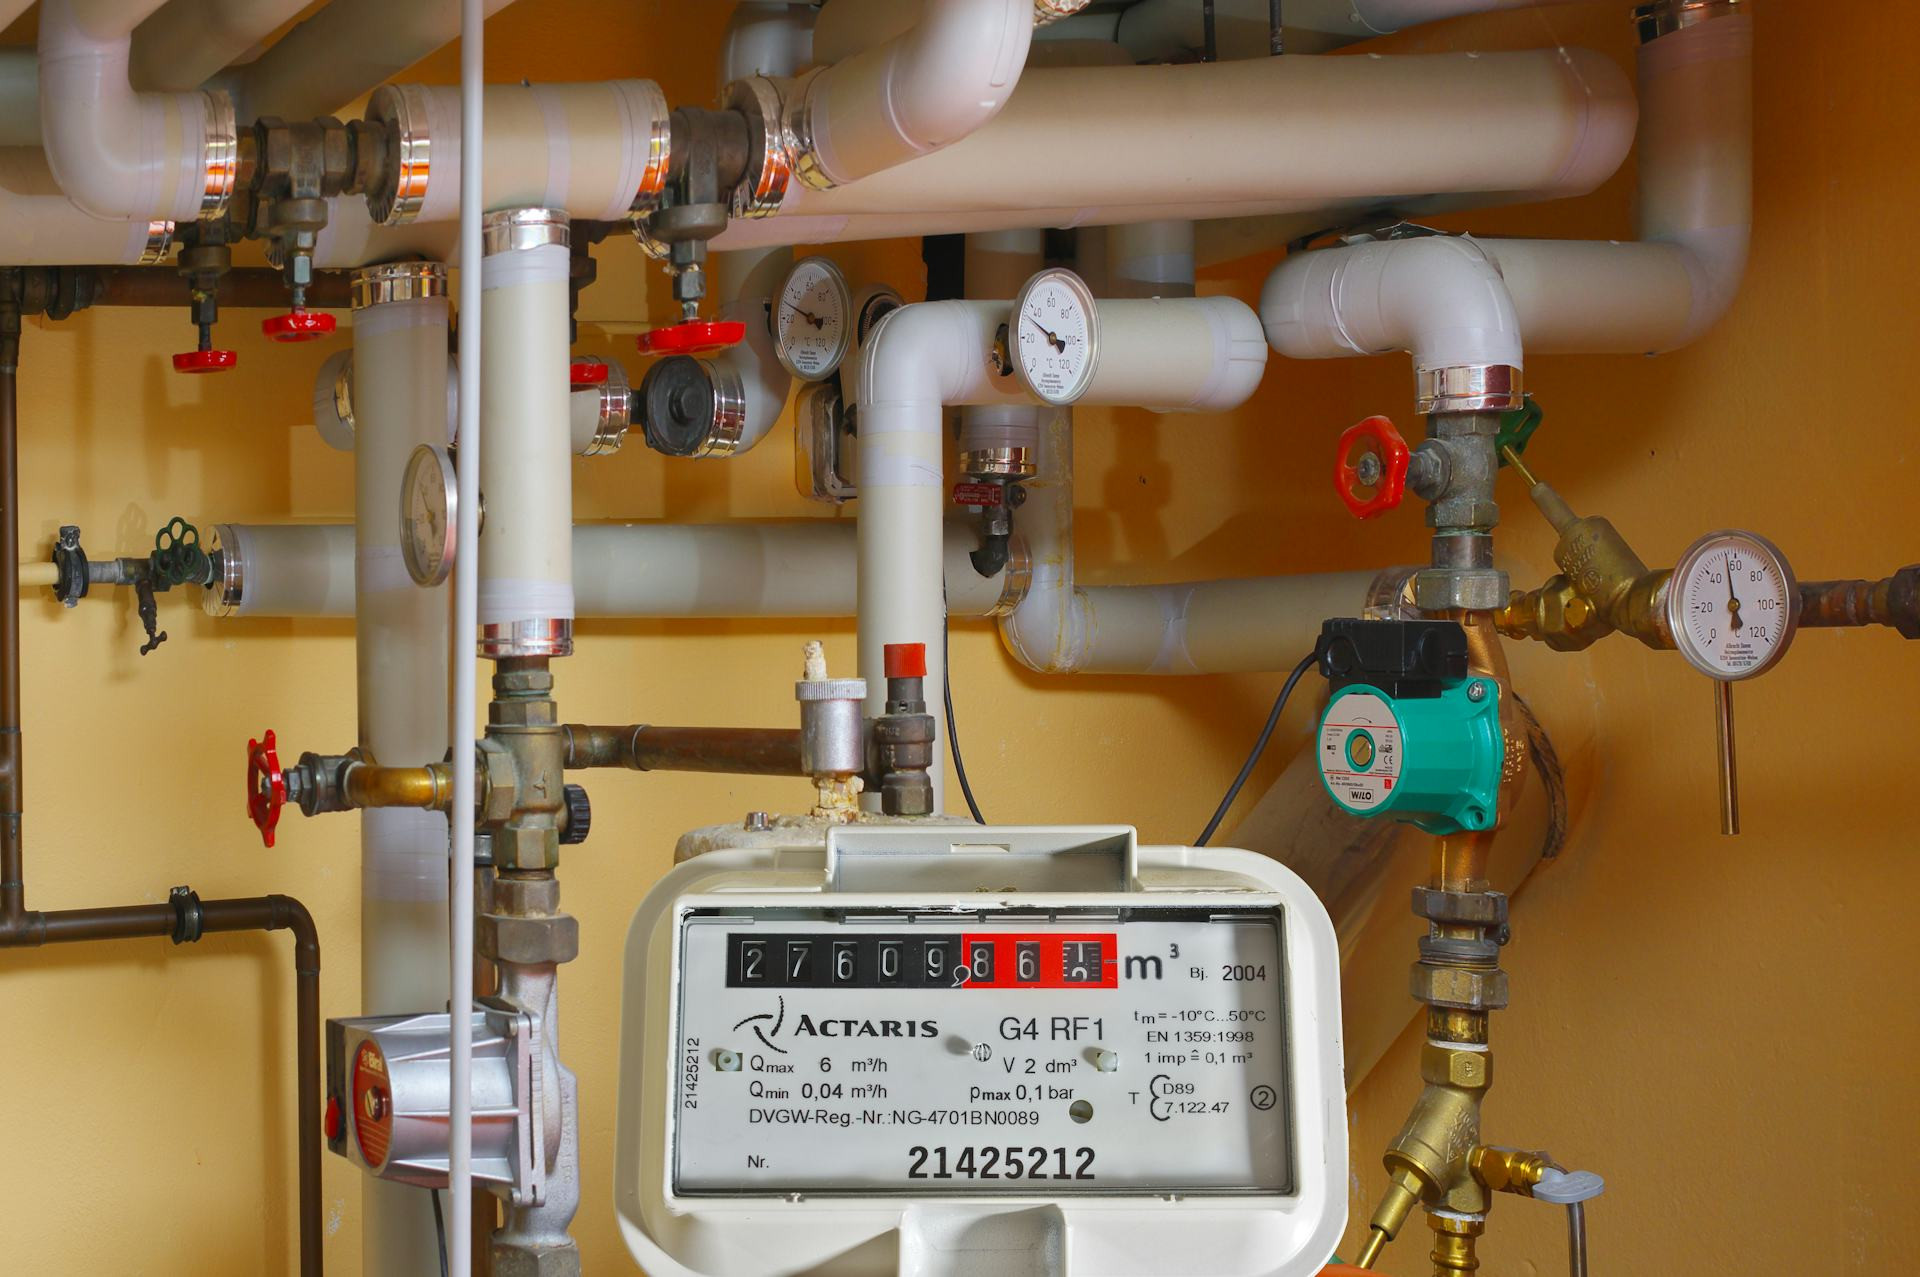
Before starting the inspection, familiarize yourself with the different parts of your heat pump. A typical heat pump system consists of an outdoor unit, indoor unit, thermostat, and ductwork. Understanding these components will help you identify where potential problems might arise.
Gathering Necessary Tools and Materials
Having the right tools on hand will streamline your inspection process. You will need:
- Thermometer
- Multimeter
- Screwdriver set
- Flashlight
- Vacuum or brush for cleaning
- Protective gloves and goggles
Ensure that these tools are in good working condition to avoid unnecessary delays during the inspection.
Step 1: Inspect the Outdoor Unit
The outdoor unit plays a vital role in heat pump operation. Begin by checking for:
- Obstructions: Remove any debris, grass, or leaves that may block airflow.
- Coils: Inspect the evaporator and condenser coils for dirt buildup. Clean them with a soft brush or vacuum.
- Fan blades: Ensure they are free of obstructions and are rotating smoothly.
Next, check the electrical connections for any signs of wear or corrosion. Tighten any loose connections.
Step 2: Examine the Indoor Unit
The indoor units functionality is just as critical as the outdoor unit. For this section, inspect the following:
- Filters: Remove and clean or replace the air filters. Clogged filters hinder airflow and reduce efficiency.
- Drainage: Ensure that the condensate drain line is clear to prevent water buildup and blockage.
- Insulation: Check the ductwork for any damage to insulation; this helps maintain energy efficiency.
Step 3: Test Operating Conditions
Testing the operating conditions of your heat pump helps assess its efficiency. Set your thermostat to a heating or cooling mode, depending on the season. Measure:
- Temperature difference: Use a thermometer to check the temperature before and after air passes through your system. A difference of 20°F to 30°F usually indicates proper function.
- Electrical components: Use a multimeter to check the voltage and amperage of the unit. This helps ensure the system is receiving the appropriate electrical input.
Step 4: Inspect Thermostat Settings
Your thermostat is the brain of your heating and cooling system. Verify the following settings:
- Calibration: Ensure that the thermostat is calibrated correctly. An inaccurate thermostat can lead to inefficient operation.
- Program settings: Check if the programmable features are set correctly to meet your needs and conserve energy.
Step 5: Conduct a System Check
Once you have completed the individual components inspection, it is time to do a system check. Cycle through different settings on your thermostat. Listen for unusual noises, such as banging or rattling, which can indicate potential issues. Pay attention to airflow; it should be consistent and unobstructed.
Step 6: Document and Address Findings
After completing the inspection, document your findings. Note any areas that require attention. If you notice any significant problems that you are unable to address yourself, consider reaching out to a professional technician for further evaluation.
Regular heat pump service inspections help prolong the lifespan of your system while maintaining its efficiency. By conducting these inspections yourself, you can become familiar with your systems workings and stay proactive about maintenance.