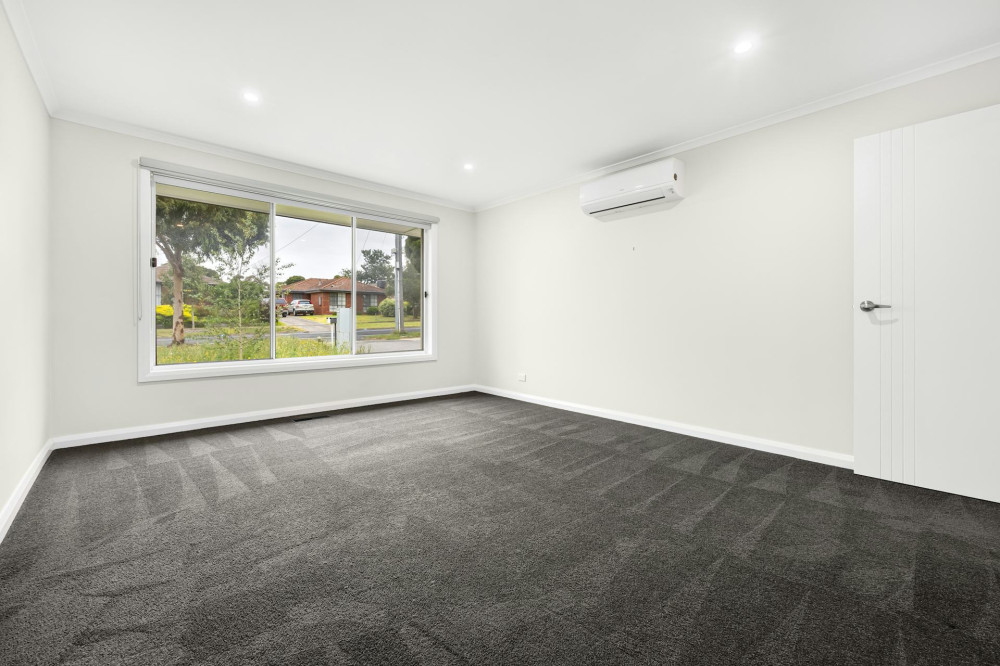
Prepare Tools and Materials for an Efficient Flooring Installation

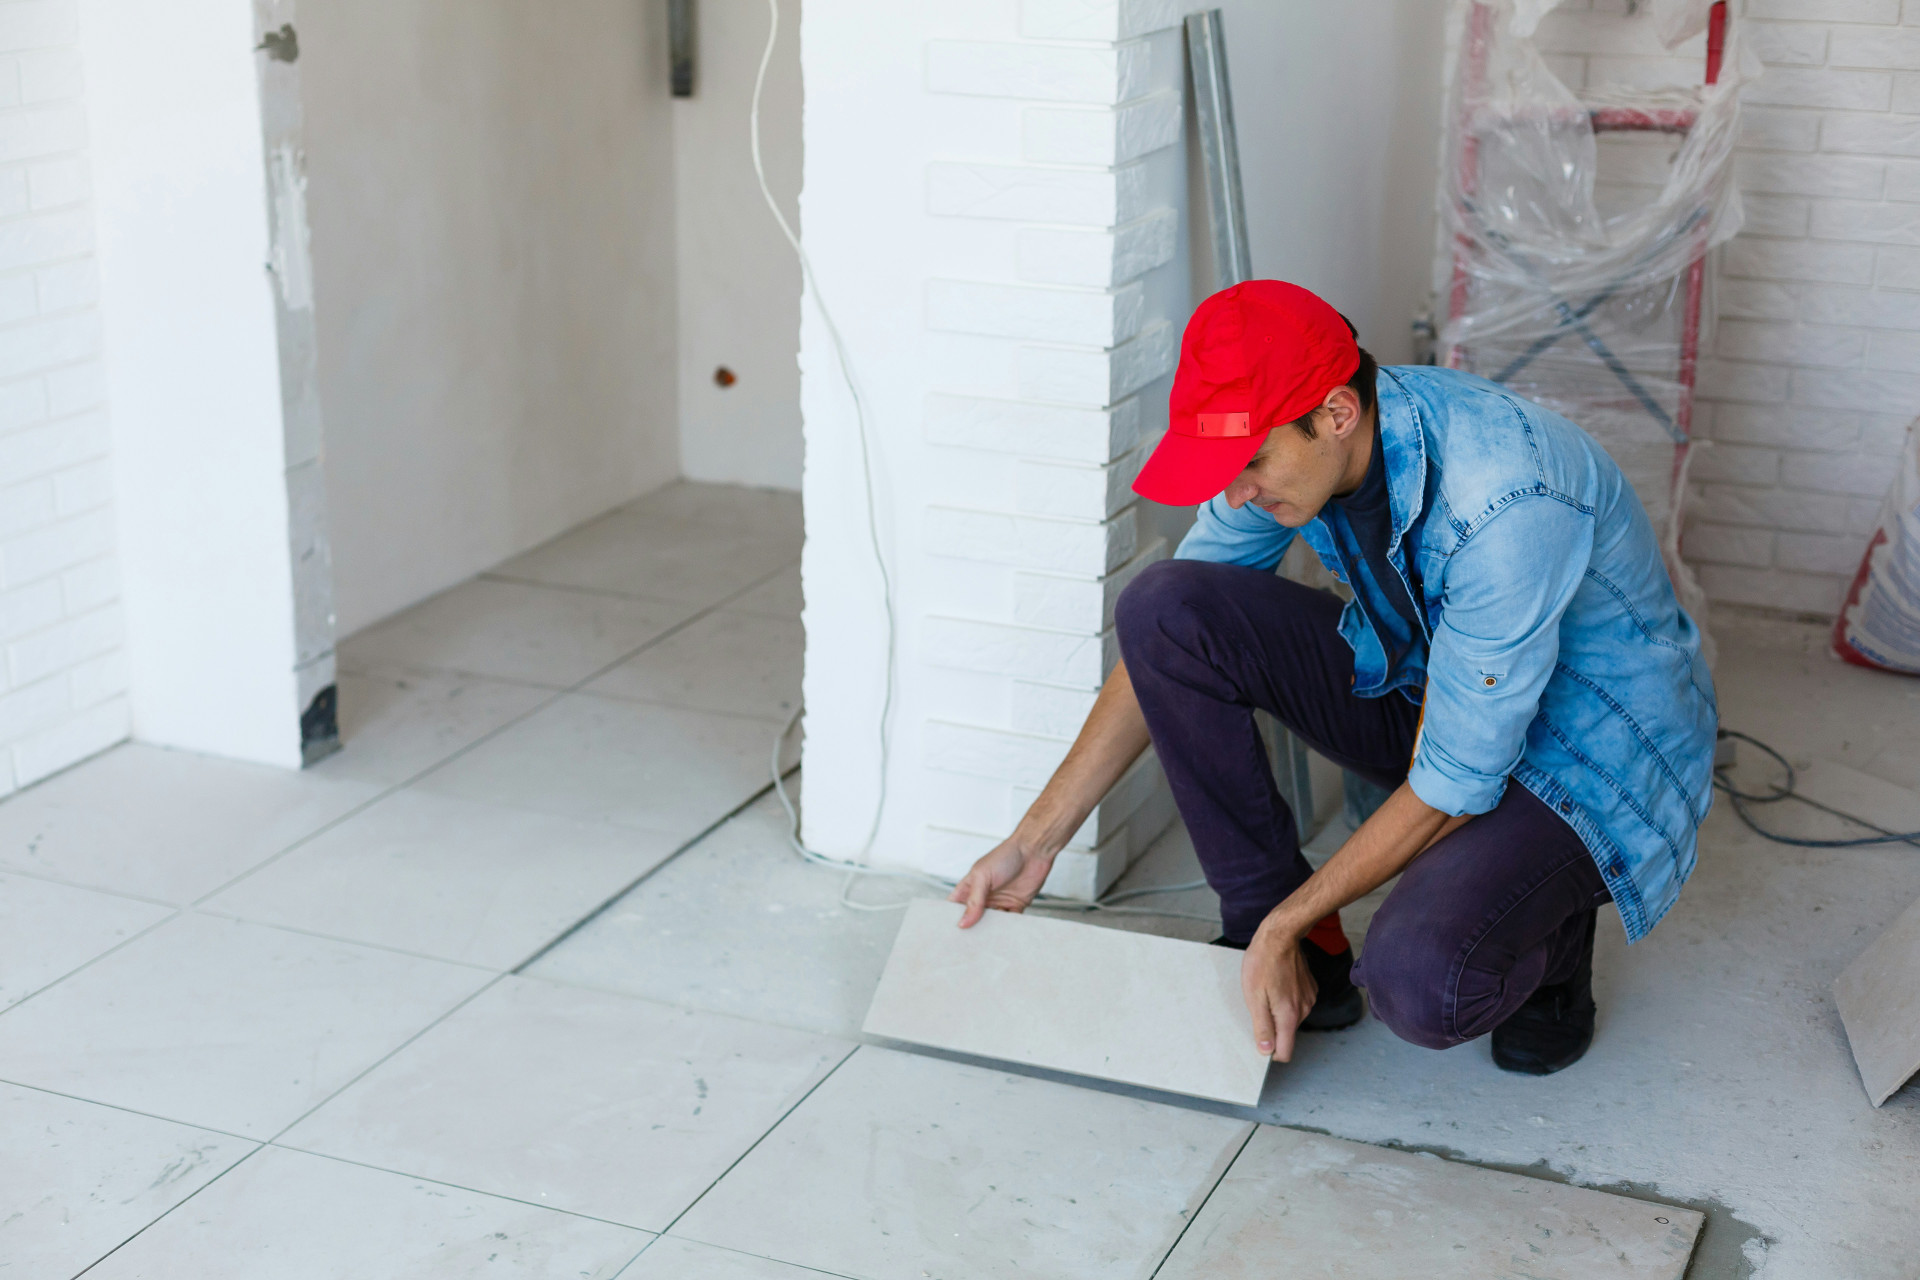
Prepare Tools and Materials for an Efficient Flooring Installation
A successful flooring installation begins long before the first board is laid. Preparation is key – of the subfloor, the tools, and the materials. Whether you’re fitting hardwood, laminate, or vinyl, careful planning can save you time, frustration, and costly mistakes. Here’s a practical guide to help you prepare properly so your flooring project runs smoothly and delivers lasting results.
Assess the Subfloor First
Before you even unpack your tools, make sure the subfloor is in good condition. An uneven or damp base can cause squeaks, gaps, or warped boards later on.
- Check for uneven areas: Use a long spirit level or straightedge. Any unevenness greater than 2–3 mm per metre should be levelled with a suitable compound or sanded down.
- Test for moisture: Particularly important with concrete subfloors. Use a moisture meter and follow the flooring manufacturer’s recommendations.
- Clean thoroughly: Remove dust, grease, and old adhesive residues. A clean surface ensures better adhesion and a neater finish.
Once the subfloor is dry, level, and clean, you’re ready to move on.
Læs også:
Choose the Right Materials
Your choice of flooring depends on the room’s purpose and your personal taste. But whatever you choose, quality matters for durability and comfort.
- Solid wood flooring: Offers a natural, warm look but needs more maintenance and is sensitive to humidity.
- Laminate flooring: Hard-wearing and easy to install – ideal for high-traffic areas.
- Vinyl flooring: Water-resistant and comfortable underfoot, making it perfect for kitchens and utility rooms.
Don’t forget the underlay. A sound-reducing underlay is useful in flats or upstairs rooms, while a damp-proof membrane is essential over concrete.
Essential Tools for Flooring Installation
Having the right tools makes the job faster, easier, and more precise. Here are the essentials:
- Jigsaw or circular saw – for cutting boards to fit around walls and corners.
- Tapping block and mallet – to join boards securely without damaging them.
- Spacers – to maintain the correct expansion gap along the walls.
- Tape measure and pencil – for accurate measurements and markings.
- Spirit level – to ensure the floor is perfectly flat.
- Knee pads – a small comfort that makes a big difference during long hours on the floor.
If you’re installing a click-lock floor, consider buying a flooring installation kit, which includes the most useful accessories in one pack.
Plan the Work Step by Step
Good planning saves time and effort. Start by measuring the room and calculating how many boards you’ll need. Always add 5–10% extra to allow for cuts and waste.
- Let the materials acclimatise: Leave the flooring in the room for at least 48 hours before installation so it adjusts to the temperature and humidity.
- Plan the laying direction: As a rule, lay the boards in the direction of the main light source – usually from the window – for a more harmonious look.
- Stagger the joints: Avoid aligning joints in adjacent rows. Staggering them improves both strength and appearance.
Once you’ve planned the sequence, the installation itself will be much more straightforward.
Avoid Common Beginner Mistakes
Even small errors in preparation can lead to big problems later. Here are some typical pitfalls – and how to avoid them:
- Insufficient expansion gap: The floor needs room to expand. Leave a 10–15 mm gap around all walls and fixed objects.
- Skipping the damp-proof membrane: Always use a plastic moisture barrier over concrete subfloors.
- Inaccurate measuring: Measure twice, cut once – it saves both time and materials.
- Rushing the job: Take your time to check each row before moving on.
Patience and precision will pay off in the long run.
Finish with the Final Details
Once the floor is laid, it’s time to complete the finishing touches. Fit skirting boards to cover the expansion gap and clean away any dust or sawdust. If you’ve installed a wooden floor, consider applying a protective finish such as oil or lacquer for added durability.
Finally, take a moment to enjoy your work. A well-prepared and properly installed floor not only looks beautiful but also provides a solid foundation for everyday life for years to come.
Læs også: